
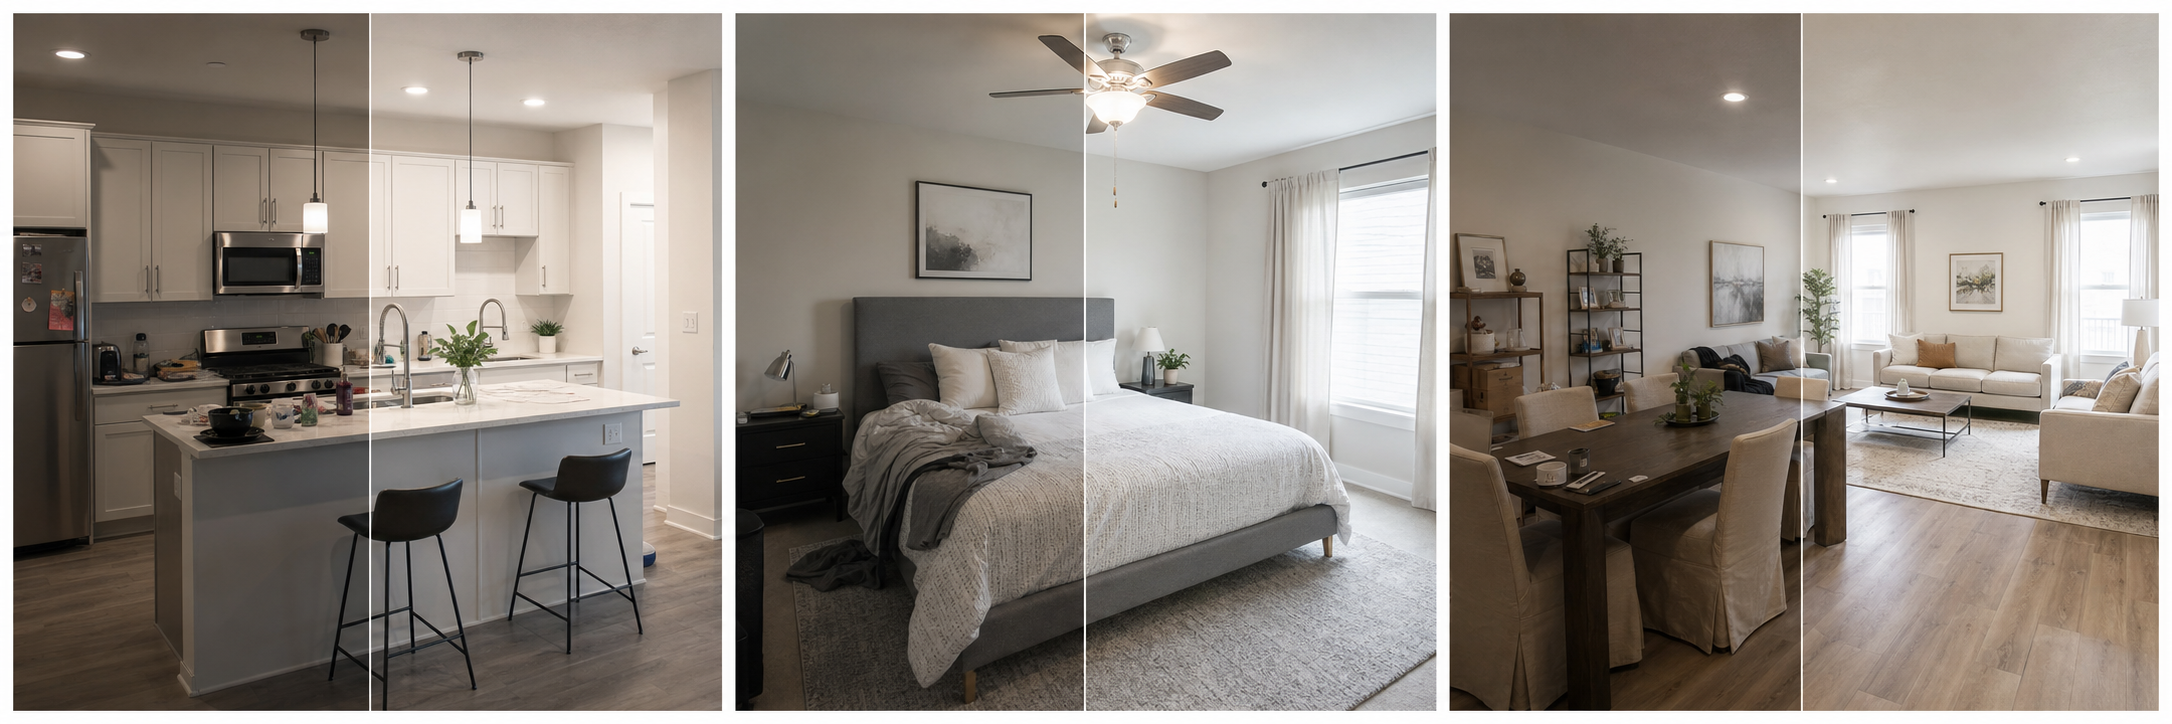
What should furnished rental photos show?
Furnished rental photos need to prove livability. A monthly or mid-term guest is not booking a getaway; they are choosing a place to actually live, so they care about the bed quality, the desk, the kitchen equipment, the seating, the storage, the laundry, and the light. Every photo should help answer the question: could I do my normal life here for eight weeks?
That makes furnished rental galleries different from short-stay listings. Ambiance shots still have a place, but the workhorses are the frames that show real equipment: the actual mattress and bed frame, the actual desk and chair, the pots and pans, the washer. These guests read photos like an inventory list, and the listing that documents its inventory wins the inquiry.
How do you photograph the daily-life zones?
Break the home into the zones a resident uses daily and give each one at least one clear, honest frame. The gallery should function as a walkthrough of a normal day: sleeping, working, cooking, eating, relaxing, washing, and storing. This zone approach beats a simple room list for furnished rentals because rooms often serve multiple zones; a living room might contain the lounge, the workspace, and the dining table, and each of those uses deserves its own frame even though they share four walls. Shoot the wide context shot first so viewers can place the zone in the home, then a closer frame proving the details, like outlet placement at the desk or the real cookware in the kitchen. Any zone missing from the gallery becomes a message the guest has to send, and many will not bother.
| Zone | What the photo must show |
|---|---|
| Sleeping | Bed size, frame, bedding quality, nightstands, closet access |
| Working | Desk, chair, outlets, light, privacy from the rest of the home |
| Cooking | Appliances, counter space, and real cookware in context |
| Eating | Table with true seat count |
| Lounging | Sofa, TV setup, natural light |
| Laundry | Actual machines and their location, in-unit or shared |
| Storage | Open closet, dresser, luggage space |
How do you photograph the workspace for remote workers?
Shoot the workspace like it is a headline amenity, because for mid-term guests it usually is. Show the desk with its true dimensions readable in the frame, the actual chair, visible outlets, the light the desk gets during working hours, and any included equipment like a monitor. If there is meaningful separation from the sleeping or living area, frame the shot to show it, since call privacy is a real filter for remote workers. If the workspace is honestly the dining table, photograph the dining table set up for work rather than implying a dedicated office. A truthful modest workspace photo attracts guests it will satisfy; an inflated one attracts guests who will complain by day three and mention it in every review afterward.
What counts as over-staging a furnished rental?
Over-staging is anything in the photo the guest will not find on arrival. Fresh flowers and a staged breakfast are harmless ambiance; borrowed decor, a better TV than the one that stays, cookware that gets removed, or artful angles that hide how small the second bedroom is are all failures waiting to be discovered. The furnished-rental version of this problem is sharper than in sales listings because the guest lives with the gap every day of a long stay, and disappointment compounds into refund requests, early terminations, and detailed negative reviews. The working rule: photograph the exact setup the guest receives, at its cleanest and best-lit, and nothing else. If you upgrade the furniture later, reshoot; if something in the photos leaves, remove those photos the same week.
What is a shoot-day process for a furnished rental?
Shoot day for a furnished rental is mostly preparation: clean, stage with only the items that stay, then photograph zone by zone in daylight, finishing with the inventory shots most listings skip. The furniture is the product, so the process is about making the real inventory legible rather than styling a scene. Budget more time than an unfurnished shoot would take, because every zone has objects that need arranging and every surface shows clutter. The inventory frames, like the open closet and the kitchen equipment, are worth treating as first-class shots rather than afterthoughts, since they are the ones mid-term guests zoom in on before sending an inquiry. Work through the sequence below in order and the gallery assembles itself.
- Deep clean, then stage using only items that stay with the rental.
- Make the bed carefully and stack fresh towels in the bathroom.
- Set the workspace as a guest would use it: chair in, laptop-scale gap, cords tidy.
- Open blinds everywhere and shoot each zone during its best daylight.
- Photograph the zones in walkthrough order, wide shot first, detail second.
- Take the inventory shots: open closet, kitchen equipment, laundry machines.
- Finish with entry, parking, and any outdoor space.
- Review the set against the zone table above and reshoot anything missing.
How should you edit furnished rental photos?
Use edits as cleanup, not persuasion. Brighten dim rooms to readable levels, correct color casts so the furniture is the color it really is, crop distracting edges, straighten lines, and make the whole gallery consistent so it reads as one coherent home rather than photos from three different days. Property Photo AI covers this workflow with a touch-up mode that preserves the real furniture, windows, room size, and fixtures, and it supports JPG, PNG, and HEIC files up to 50MB, which handles phone photos without conversion. The boundary stays the same as everywhere in this guide: nothing in the finished photo should be untrue on move-in day.
For deeper dives on the fundamentals, see staging your rental before photos and the best lighting for rental photos.
FAQ
What should furnished rental photos show?
Show the actual furniture and equipment guests will live with: the bed setup, workspace, kitchen tools, seating, storage, laundry, bathroom, and included amenities. Mid-term guests are choosing a place to live for weeks or months, so livability proof matters more than styling.
Why are furnished rental photos different from Airbnb photos?
Monthly guests evaluate the home as daily infrastructure, not a getaway. They scrutinize the desk, kitchen equipment, storage, and laundry because they will use them every day. Photos that only show ambiance leave their real questions unanswered and cost you inquiries.
Should I photograph inside closets and cabinets?
Yes, selectively. One open-closet photo and one shot showing real kitchen equipment answer the two biggest unspoken questions: where does my stuff go, and can I actually cook here. These unglamorous photos convert mid-term browsers better than extra decor shots.
What if my furnished rental has basic furniture?
Photograph it honestly and cleanly. Mid-term guests care more about function, comfort, and accuracy than style, and an accurate photo of modest furniture sets expectations you can meet. Over-promising with clever angles or heavy editing produces complaints and early terminations.
Can I edit furnished rental photos with AI?
Yes, for cleanup: brightening rooms, correcting color, cropping, and making the gallery consistent are routine edits. Keep the furniture, room sizes, and fixtures truthful, because a monthly guest lives with any gap between photos and reality for their entire stay.
How Property Photo AI helps
Property Photo AI helps landlords, Airbnb hosts, property managers, and real estate teams turn existing room photos into cleaner listing-ready images. It is built for realistic touch-ups: better light, color, crop, sharpness, and small-distraction cleanup without changing the actual room layout, fixtures, view, or condition.
Sources
- Airbnb Help Center: Taking great photos of your listing
- Airbnb Help Center: Setting up a photo tour for your home listing
- Airbnb Help Center: Add visual descriptions to photos in your listing
- Airbnb Help Center: Confirming photo accuracy for listings
- Airbnb Help Center: Offer for free Airbnb photography
- Google Business Profile
- Google Business Profile Help: Manage your hotel's details
- Booking.com Partner Hub: Understanding photo requirements for your property
- Booking.com Partner Hub: Improve visibility and ranking
- Vrbo Help: Photo guidelines
- Zillow Rental Manager Help: Photo Uploading Tips
- Zillow Rental Manager: Post a listing
- Zillow Rental Manager Help: Why is my primary photo different?
- Craigslist Help: Creating a posting
- Craigslist Help: Images
- Airbnb Help Center: Pricing your home listing
- Airbnb Help Center: Compare similar listings
- Airbnb Help Center: How search results work